



A MacBook that refuses to wake is a specific kind of bad morning. There is a presentation on it, or a codebase, or a client file due at eleven — and there is no obvious clue as to whether you are looking at a five-second fix or a four-figure logic board.
The useful news is that "MacBook won't turn on" is a description of a symptom, not a diagnosis, and it covers at least six genuinely different faults. Several of them you can resolve yourself in the next ten minutes without spending anything. Others need a bench and a microscope. Working out which is which before you commit to anything is the entire purpose of this guide.
One thing to establish immediately: a MacBook that will not boot almost always still has your files intact. On Apple Silicon machines the storage is soldered to the board, which complicates recovery, but the data itself survives most failures that stop a machine powering on. Panic about the deadline, not about the documents.
At Fone Doctors a substantial share of the MacBooks brought in as "dead" turn out to be charging faults or backlight failures rather than board failures — and the diagnostic that establishes this is free.
Establish What Kind of Dead You Have
Before touching anything, work out which of these describes your machine. The distinction determines everything that follows.
| Symptom | What it usually means | Severity |
|---|---|---|
| Nothing at all — no fan, no light, no sound | Power delivery failure: charger, port, or board | Moderate to serious |
| Charging light on but will not boot | Power circuit reaching the board but boot failing | Moderate |
| Fan spins, no image at all | Display, backlight or GPU fault | Moderate |
| Faint image visible under a torch | Backlight failure — very commonly a repairable board fault | Moderate, usually good news |
| Apple logo appears then it shuts off | Software, storage or a failing component under load | Usually recoverable |
| Stuck on the progress bar | macOS install or file system problem | Usually recoverable |
| Three beeps on startup | Memory fault (Intel models with removable RAM) | Model dependent |
| Powers on only when plugged in | Battery failure | Straightforward |
| Was working, then got wet | Liquid damage — urgent | Serious, time critical |
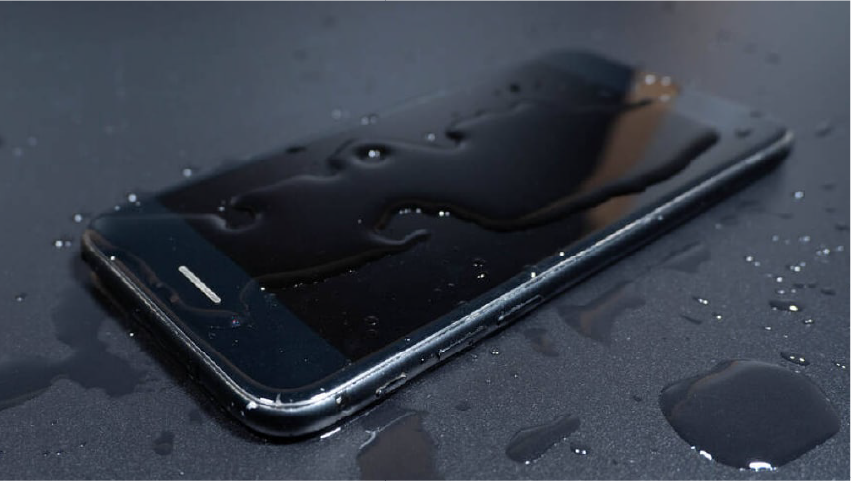
If liquid was involved at any point, skip the rest of this guide. Do not charge it, do not attempt to power it on, and get it to a repair specialist today. Corrosion advances by the hour on a MacBook logic board, and the difference between a same-day clean and a week-later attempt is frequently the difference between a working machine and a parts donor.
The Ten-Minute Diagnostic
Step 1: Prove the power supply
Charging faults are the single most common cause, and they are usually external.
- Check the charging indicator. On MagSafe models, is there any light at all? No light means no power reaching the machine.
- Try a different cable and a different power adapter, ideally a known-good genuine one. Cables fail internally at the strain point where you cannot see it.
- Try a different wall socket, and avoid extension leads for this test.
- Check the wattage. A 30W charger will not meaningfully power a 16-inch MacBook Pro under load, and a low-wattage charger on a deeply discharged machine may not start it at all.
- Inspect the port with a torch. USB-C ports collect pocket and desk debris exactly like phone charging ports do, and compacted lint prevents the connector seating fully.
- Leave it charging for a solid 30 minutes before concluding anything. A completely flat battery needs time on trickle charge before it will accept a boot command.
Step 2: Force restart
Hold the power button down for 10 full seconds, release, wait five seconds, then press it normally. On Touch ID models the power button is the Touch ID sensor itself. Ten seconds feels much longer than you expect — count it out.
Step 3: Reset the power management controller
Apple Silicon (M1, M2, M3, M4 and later): there is no separate SMC reset. Shut down fully, leave it unplugged for at least 30 seconds, then hold the power button for 10 seconds. That is the equivalent procedure.
Intel with T2 chip: with the machine off, hold Control, Option and Shift (left side) for 7 seconds, then add the power button and hold all four for a further 7 seconds. Release, wait, then power on.
Intel without T2, non-removable battery: with the machine off, hold Shift, Control and Option (left side) plus the power button for 10 seconds. Release, then power on.
Step 4: Listen and look carefully
This step separates power faults from display faults, and it is the one people skip.
In a quiet room, press the power button and pay attention:
- Any fan noise?
- Any startup chime?
- Does the keyboard backlight flash, even briefly?
- Any sound from the drive or the speakers?
- Does the machine become warm after a few minutes?
If there is any sign of life but no picture, your power circuit is working. You have a display, backlight or graphics fault — a completely different and generally less expensive repair than a dead board.
Step 5: The torch test
This one is genuinely diagnostic and takes fifteen seconds.
Power the machine on, take it into a dark room, and shine a bright torch at a sharp angle across the screen, close to the surface.
If you can make out a faint desktop, menu bar or login screen, the machine is fully booted and running. The display panel is fine. What has failed is the backlight — either the backlight circuit on the logic board or the display's backlight cable. On many models this is a well-understood, economically repairable board fault, and it is a far better outcome than the symptom initially suggests.
Step 6: Try an external display
Connect an external monitor via HDMI or USB-C.
- External display works, internal does not: the fault is in the display assembly, the display flex cable, or the backlight. The logic board and graphics are fine.
- Neither display shows anything, but the machine has fan noise: a graphics or board fault.
Step 7: Recovery mode
Apple Silicon: shut down, then press and hold the power button until "Loading startup options" appears.
Intel: power on and immediately hold Command and R.
If recovery mode loads, the hardware is fundamentally sound and you are dealing with a software or storage problem — recoverable, and usually without data loss if handled correctly. From here you can run Disk Utility First Aid, which resolves a meaningful proportion of boot failures.
What The Results Tell You
| Diagnostic result | Most likely cause | Typical route |
|---|---|---|
| No response at all, no charge light, multiple chargers tried | Power circuit or board failure | Board-level diagnostic required |
| Charge light on, no boot | Power sequencing fault on the board | Board-level repair |
| Fan spins, screen black, torch test shows faint image | Backlight circuit or backlight cable | Repairable, often board-level |
| Fan spins, screen black, external display works | Display assembly or display flex | Display or flex replacement |
| Fan spins, nothing on either display | Graphics or board fault | Board-level diagnostic |
| Boots to Apple logo then shuts down | Storage, software, or a component failing under load | Recovery mode first, then diagnostics |
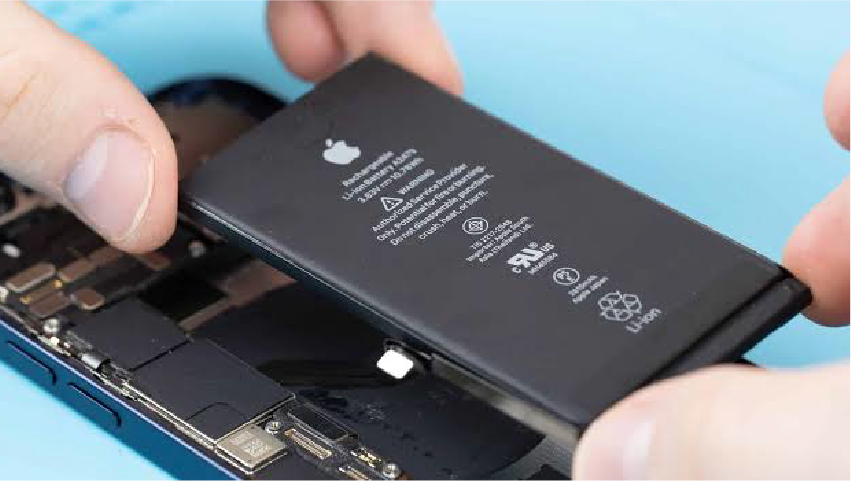
| Works only when plugged in | Battery failure | Battery replacement |
| Recovery mode loads normally | Software or file system | Disk Utility, then reinstall if needed |
| Any liquid history | Corrosion | Urgent ultrasonic clean and board repair |
What A MacBook Repair Involves
MacBook repair is meaningfully different from phone repair, chiefly because Apple integrates so much into the logic board that "replace the part" is often not available as an option — the repair has to happen at component level.
- Free diagnostic. Power rails measured with a bench supply, current draw profiled against known-good values, and the board inspected under a stereo microscope. Current draw alone identifies a great many faults before anything is disassembled.
- Charging circuit testing. USB-C power delivery negotiation, charging integrated circuits, and the protection components that fail first when a non-compliant charger or a surge is involved.
- Component-level board repair. Failed components are replaced under microscope with hot air and micro-soldering. This is what allows a repair costing a fraction of a logic board replacement.
- Liquid damage treatment where relevant. Full disassembly, ultrasonic cleaning of the board, corrosion removal, and replacement of corroded components.
- Display and backlight work. Backlight circuit repair, display flex replacement, or full display assembly replacement depending on the fault.
- Data safeguarding first. On Apple Silicon machines storage is soldered to the board, so where the board is at risk we prioritise data extraction before attempting anything that could compromise it.
- Load testing. Sustained stress testing before return, because faults that appear only under thermal load are common and a five-minute test does not find them.
Our MacBook repair in London covers component-level board repair, backlight and display work, battery replacement, charging circuit repair and liquid damage recovery — with free diagnostics, a fixed quote before any work, and no fix no fee.
When To Stop and Book a Repair
Stop troubleshooting and get it looked at professionally if:
- Liquid has been involved, at any point, however minor it seemed. This is time critical.
- There is no response whatsoever after trying two chargers and a 30-minute charge.
- The machine powers on and shuts down repeatedly, particularly if it is getting hot.
- You can smell burning or anything acrid.
- The case is swollen, the trackpad sits proud, or the machine rocks on a flat desk. That is a swollen battery and it is a fire risk — stop charging it immediately.
- Recovery mode will not load.
- There is unbacked-up work on it and you are about to try something drastic.
That last point matters most for the City and Canary Wharf clients we see. If the machine holds work that is not backed up, the correct order of operations is data first, repair second. Trying a reinstall before extracting the data is how recoverable situations become unrecoverable ones.
Bring it to our London clinics for a free diagnostic. Current draw profiling on a bench supply identifies most faults within about twenty minutes, and you will get a fixed price and an honest view on whether the machine is economically worth repairing.
Related repair guides
If the machine holds work you cannot lose, read how to recover data from a dead phone — the same extraction principle applies to soldered Mac storage.
Key Takeaways
- Establish which kind of dead you have first. Six different faults share the same description.
- Rule out the charger, cable, socket and port debris before anything else. Charging faults are the most common cause.
- Fan noise or a chime with a black screen means the power circuit works — you have a display or backlight fault.
- The torch test takes fifteen seconds and identifies backlight failure, which is usually good news.
- Any liquid involvement is urgent. Do not charge it, do not power it on, get it seen today.
- A swollen case or a proud trackpad means a swollen battery. Stop charging it.
- If there is unbacked-up work on the machine, data extraction comes before any repair attempt.
Frequently asked questions
The most common causes are a failed charger or cable, debris in the USB-C port preventing full connection, a deeply discharged battery needing longer on trickle charge, or a fault in the charging circuit on the logic board. Try a second known-good charger, clear the port, and leave it charging for 30 minutes before concluding anything.
Share with your community
Get in touch
Questions about this repair? Send a message or book a slot at a London clinic.